Error 0x800f0989 may appear during the installation of Windows update packages KB4586786, KB5037768, or others. The following error message will appear during the installation:
“Updates failed. There were problems installing some updates, but we’ll try again later.” Error: 0x800f0989
Follow the solutions explained in this article and fix this issue.
Solution 1: Repair corrupted Windows files and fix common bugs
The error message most commonly appears due to corrupted system files, outdated drivers, malicious junk files, privacy breaches, or missing DLL files. To repair these issues, execute the SFC command with DISM as follows:
✓ SFC – System File Checker
Step 1: Open Admin Command Prompt.
Step 2: Execute the command.
C:\Windows\System32> sfc /scannow

Beginning system scan.  This process will take some time.

Beginning verification phase of system scan.
Verification 100% complete.

Windows Resource Protection found corrupt files but was unable to fix some of them. Details are included in the CBS.Log windir\Logs\CBS\CBS.log. For example C:\Windows\Logs\CBS\CBS.log.

C:\Windows\System32>
Step 3: Reboot your PC.
✓ DISM – Deployment Image Servicing and Management
Step 1: Open elevated Command Prompt.
Step 2: Execute the following commands in sequence.
1. DISM – Check Health
C:\Windows\System32> dism /Online /Cleanup-Image /CheckHealth

Deployment Image Servicing and Management tool
Version: 10.0.22621.2792

Image Version: 10.0.22631.3737

No component store corruption detected.
The operation completed successfully.
2. DISM – Scan Health
C:\Windows\System32> dism /Online /Cleanup-Image /ScanHealth

Deployment Image Servicing and Management tool
Version: 10.0.22621.2792

Image Version: 10.0.22631.3737

[==========================100.0%==========================]

No component store corruption detected.
The operation completed successfully.

C:\Windows\System32>
3. DISM – Restore Health
C:\Windows\System32> dism /Online /Cleanup-Image /RestoreHealth

Deployment Image Servicing and Management tool
Version: 10.0.22621.2792

Image Version: 10.0.22631.3737

[==========================100.0%==========================]

The restore operation completed successfully.
The operation completed successfully.

C:\Windows\System32>
Step 3: It will take some time to finish the process so keep patience and let the process completes.
If the above command line tool is unable to perform the task effectively, try using a third-party repair tool.
Download PC Repair + Optimiser Tool
Clean and Optimize your PC. 4.2 Trustpilot Rating ⭐⭐⭐⭐⭐
Solution 2: Run Windows Update Troubleshooter.
The Windows Update Troubleshooter is designed to diagnose problems and automatically restart each update service.
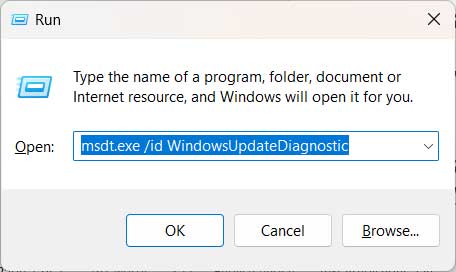
Step 1: Open the Run dialog box by pressing the Windows key + R together. Type msdt.exe /id WindowsUpdateDiagnostic and press OK. This will open the Windows Update Troubleshooter.
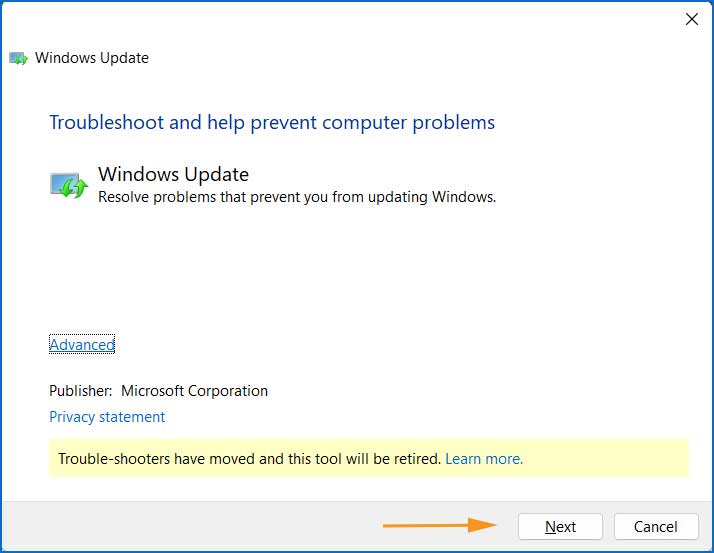
Step 2: Click the Next button to start the diagnostic process.
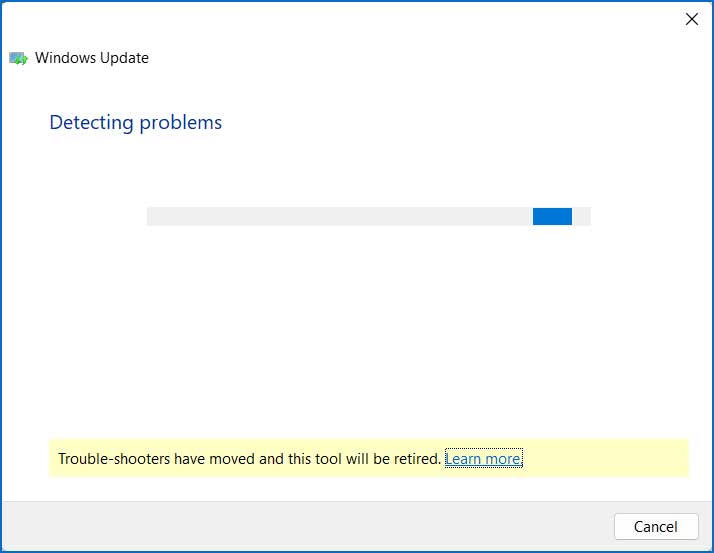
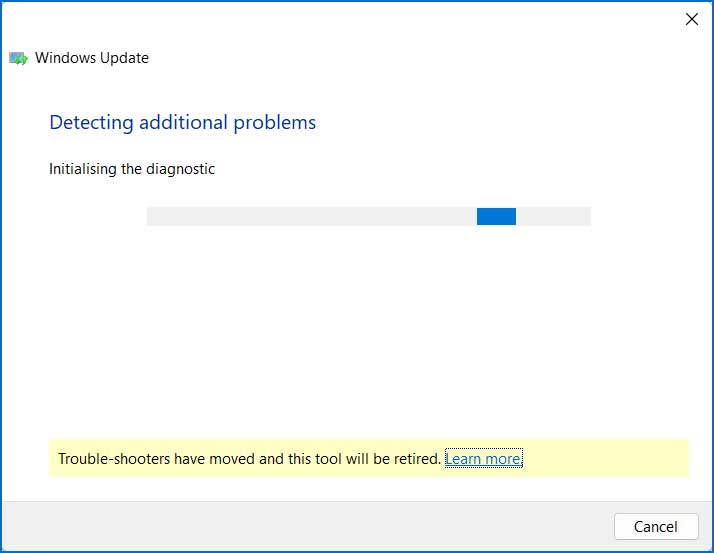
Step 3: The Update Troubleshooter wizard will start the diagnostic process. Please wait until it finishes.
Step 4: Once the troubleshooting is complete, you will see the results window. Here, you can see what was fixed and what was left unresolved.
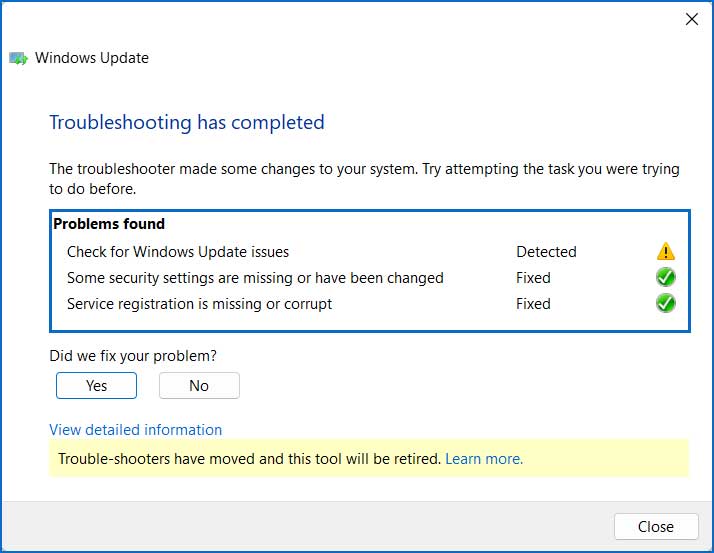
Step 5: If your problem wasn’t fixed using the Update Troubleshooter, try using the automatic repair tool.
Download PC Repair + Optimiser Tool
Clean and Optimize your PC. 4.2 Trustpilot Rating ⭐⭐⭐⭐⭐
Solution 3: Clear the Software Distribution Folder
You should also clear the SoftwareDistribution folder to resolve the Windows Update 0x800f0989 error. Perform this task as follows:
Step 1: Open Administrator Command Prompt and execute the following commands. These will stops the Windows update service.
net stop bits
net stop wuauserv
net stop cryptsvc
net stop msiserver
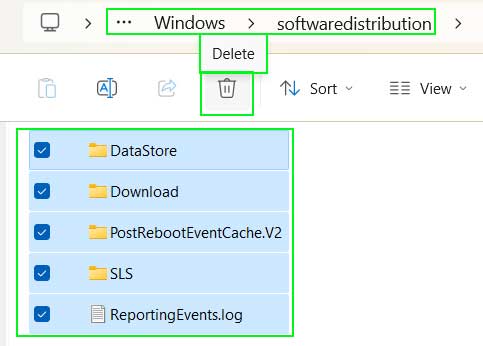
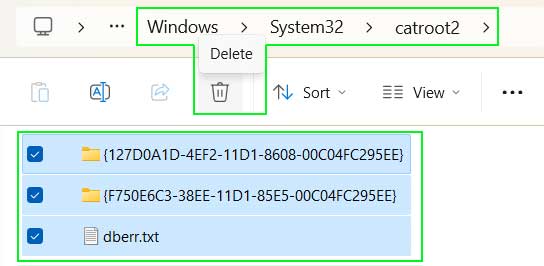
Step 2: Go to following location and delete all the items inside it.
Location 1: C:\Windows\SoftwareDistribution
Location 2: C:\Windows\System32\catroot2
Step 3: Start the update service again. Execute following commands in Administrator command prompts.
net start bits
net start wuauserv
net start cryptSvc
net start msiserver
Solution 4: Perform Windows 10/11 Repair with an In-place upgrade.
By using this method, your files, settings, and applications will remain intact, but the broken system files, update errors, and other issues will be resolved. However, it is still recommended to keep a backup of important folders, files, and settings to avoid any potential loss.
How to Perform an In-Place Upgrade
In an in-place upgrade, no files, folders, or applications will be deleted.
Preparation:
Before starting the in-place upgrade, follow these guidelines:
- Sign in as an Administrator.
- Disconnect all external peripherals and devices except the mouse, keyboard, and LAN cable.
- Disable or uninstall any third-party antivirus programs.
- Keep a backup of important folders, files, and settings.
Step 1: Download the Media Creation Tool for Windows 10 or Windows 11, depending on your PC’s operating system.
Windows 10: https://www.microsoft.com/en-us/software-download/windows10
Windows 11: https://www.microsoft.com/software-download/windows11
Step 2: If you see a User Account Control (UAC) prompt, click Yes.
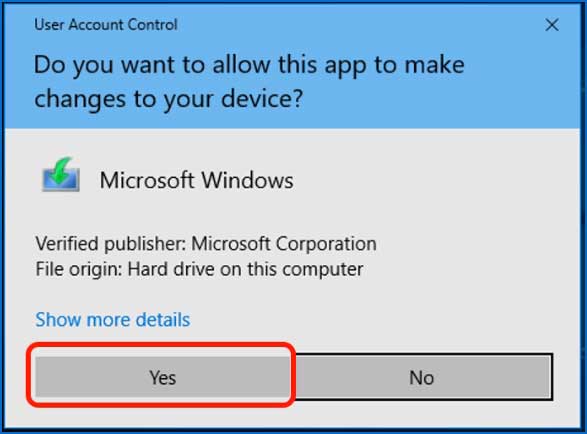
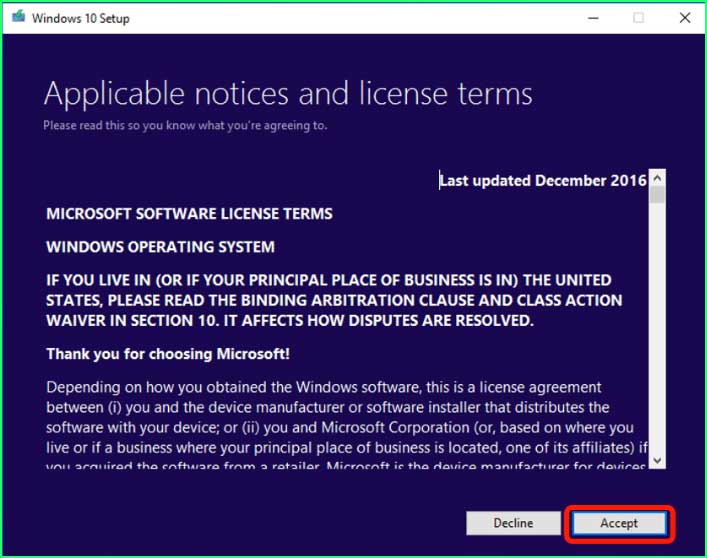
Step 3: Once the download is complete, the Windows 10 or Windows 11 setup will open. Read the License Agreement and click Accept.
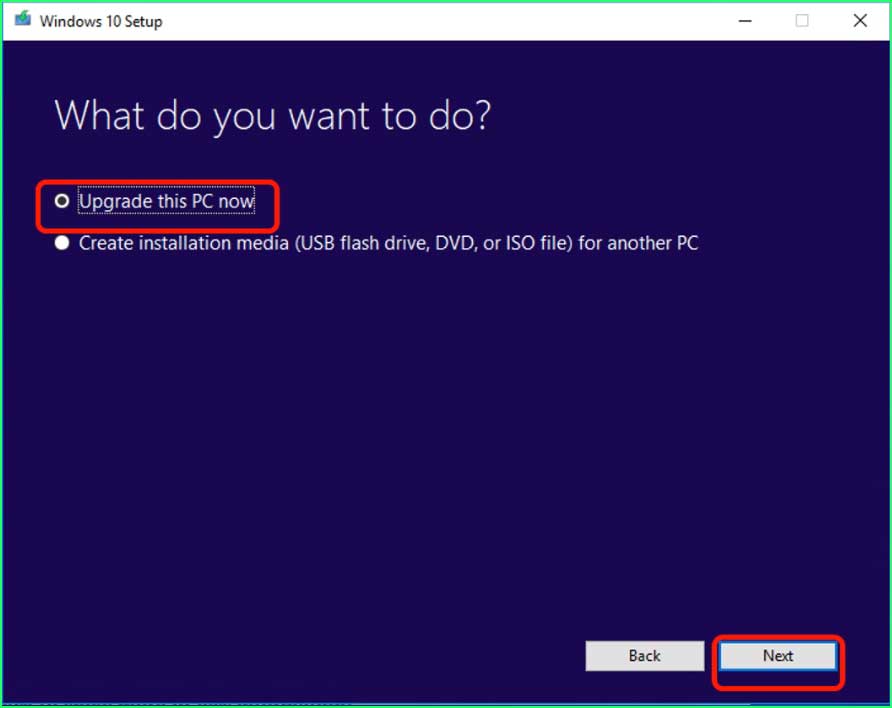
Step 4: Select Upgrade this PC now and click Next.
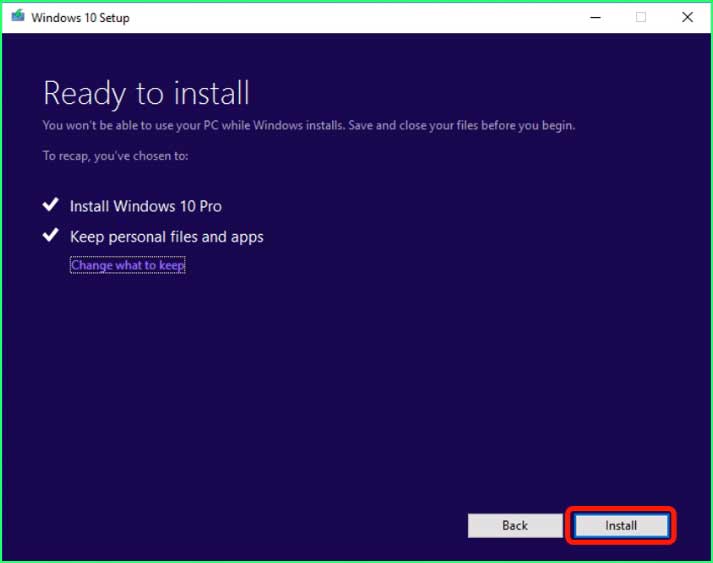
Step 5: When the upgrade is ready to install, click the Install button to begin the process.
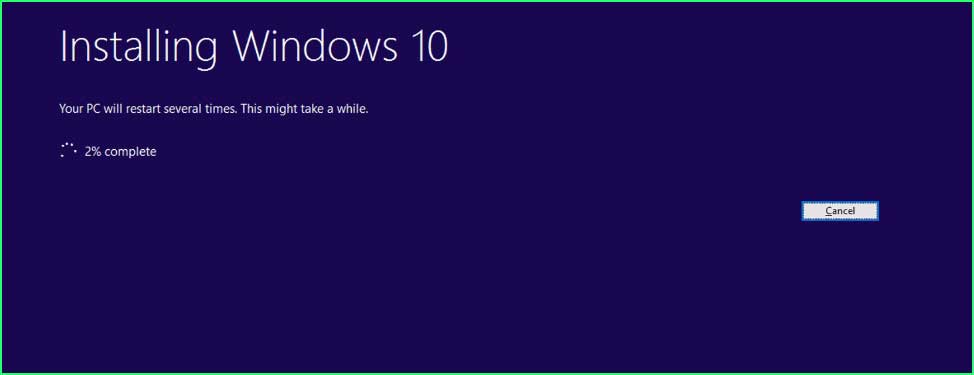
Step 6: The Windows 10/11 upgrade installation will start.
Step 7: After the installation completes, select your sign-in account.
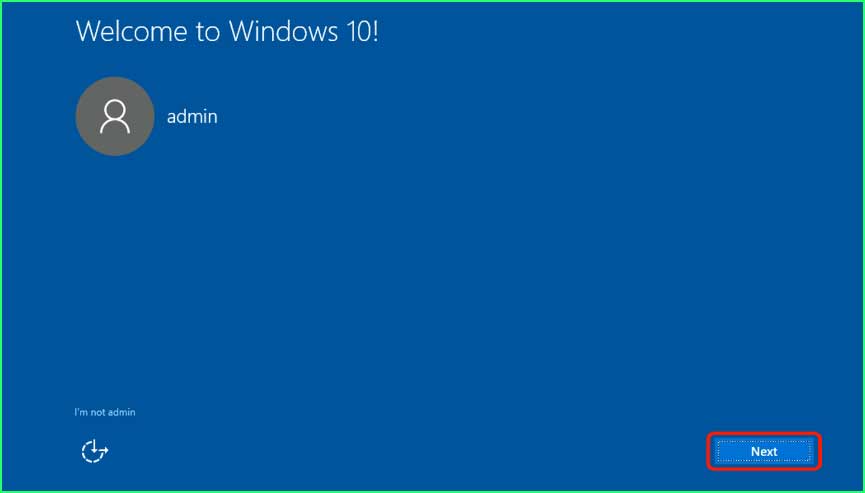
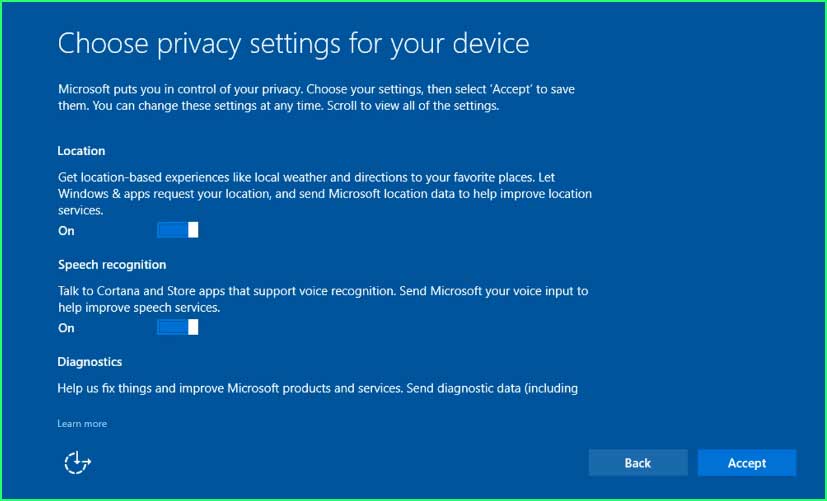
Step 8: Choose your privacy settings for the device and click Accept.
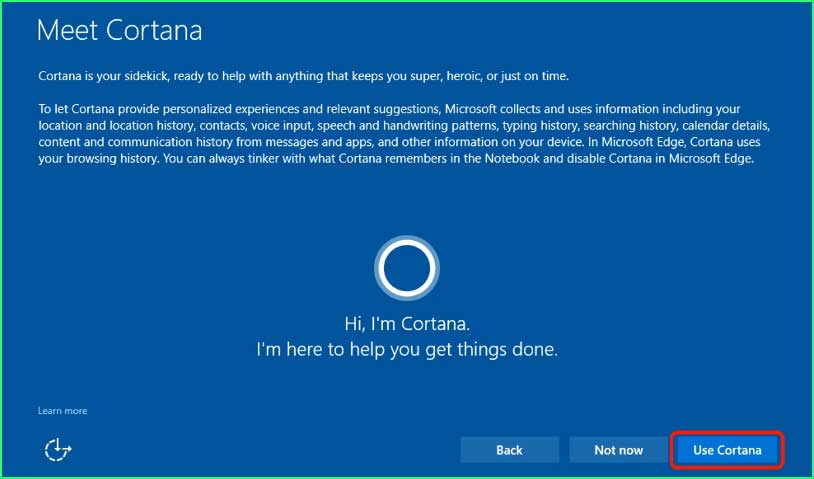
Step 9: If you wish to use Cortana, click the Use Cortana button.
Step 10: You’re all set! The In-place upgrade has finished, and you will reach the sign-in screen.
Conclusion:
To fix update error code 0x800f0989, follow these solutions: repair corrupted system files using the SFC and DISM commands, run the Update Troubleshooter, clear the SoftwareDistribution folder, and finally, use the in-place upgrade to repair Windows.